
Choosing a Level 2 Charger for Your Tesla
For most Tesla owners, the choice is simple: Pick the portable Gen 2 Mobile Connector if you want to charge from a suitable 240V outlet. Pick a hardwired Wall Connector if you want a permanent setup that may charge faster, depending on your Tesla model and home wiring. Have a licensed electrician check your panel and install the right circuit before you plug in.
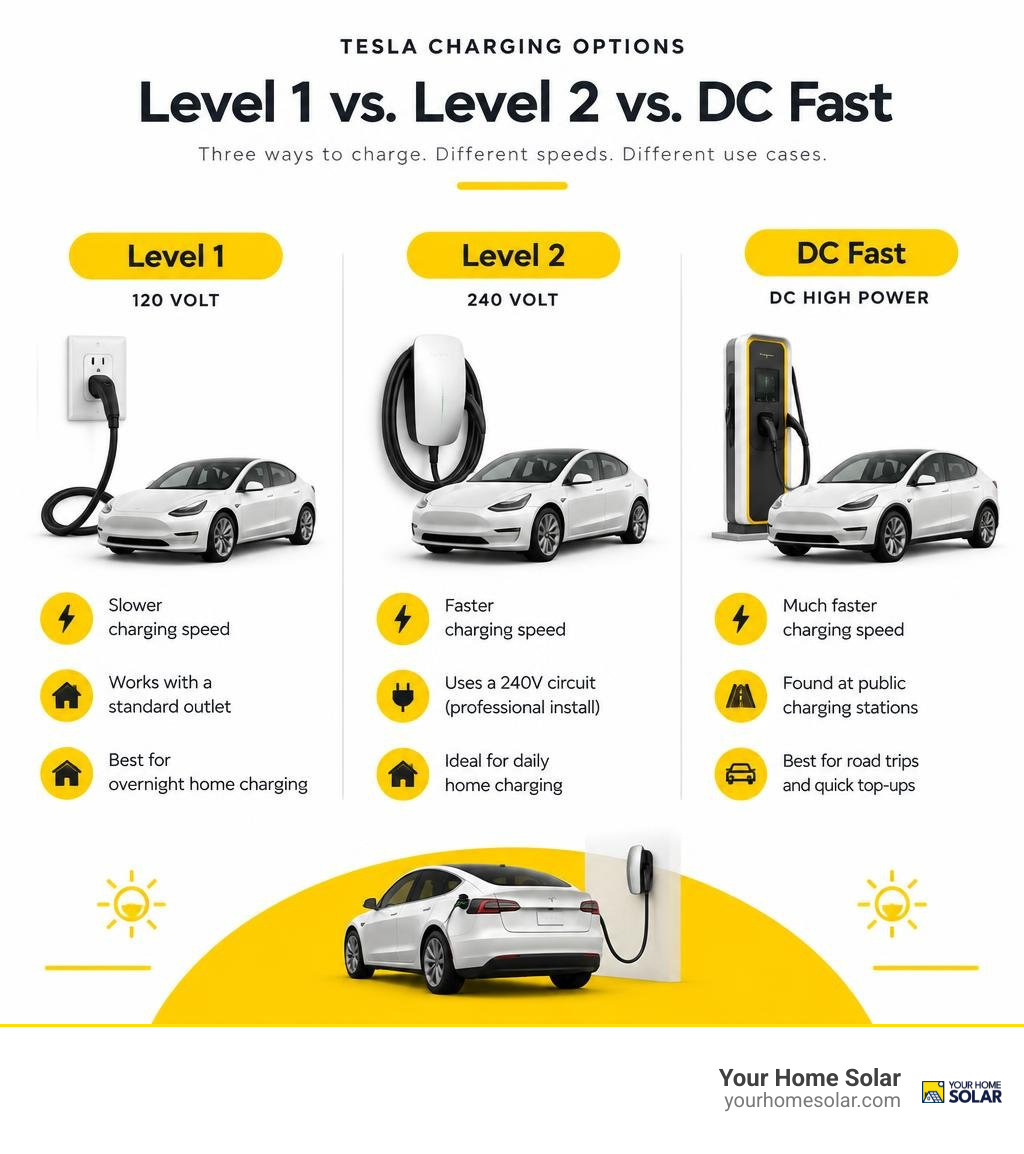
A level 2 charger tesla setup is faster than a standard 120V outlet and is designed for routine home charging. DC fast charging is much quicker, but it uses different equipment, usually found on the road.
I’m Ernie Bussell, founder of Your Home Solar. My work in solar operations and home energy helps me guide homeowners from a “level 2 charger tesla” search toward a practical setup; next, we’ll look at the hardware and how to choose.
Basic level 2 charger tesla terms:
Understanding the Level 2 Charger Tesla Options and Hardware
Level 2 charging is the cornerstone of routine electric vehicle ownership. Unlike Level 1 charging—which uses a standard 120-volt household outlet and adds a meager 2 to 4 miles of range per hour—Level 2 charging operates on a dedicated 208-volt to 240-volt alternating current (AC) circuit. This allows your Tesla’s onboard charger to convert AC power to direct current (DC) far more rapidly, replenishing your battery overnight while you sleep.
In North America, Tesla uses the North American Charging Standard (NACS), now standardized across much of the automotive industry. When evaluating hardware for your home, you have two primary native options: the portable Tesla Gen 2 Mobile Connector paired with an appropriate 240V adapter, or the dedicated, hardwired Tesla Wall Connector. Homeowners exploring their hardware choices can also compare Level 2 chargers to determine whether a plug-in or permanently mounted station best fits their daily driving habits.
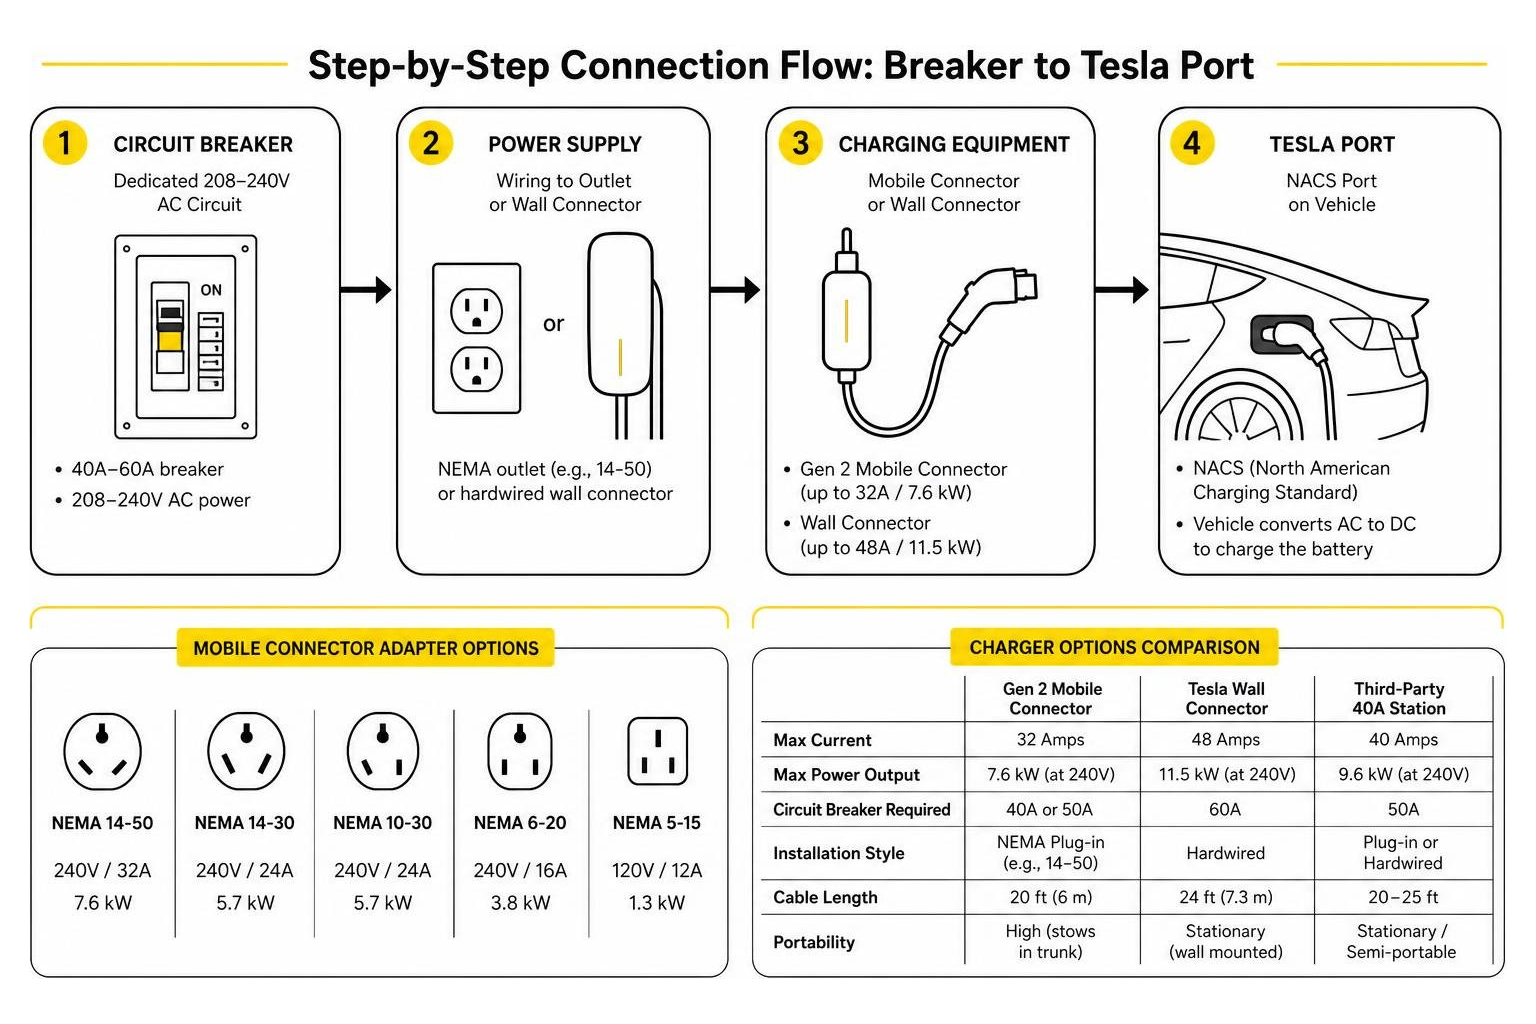
| Feature / Metric | Gen 2 Mobile Connector | Tesla Wall Connector | Third-Party 40A Station |
|---|---|---|---|
| Max Current | 32 Amps | 48 Amps | 40 Amps |
| Max Power Output | 7.6 kW (at 240V) | 11.5 kW (at 240V) | 9.6 kW (at 240V) |
| Circuit Breaker Required | 40A or 50A | 60A | 50A |
| Installation Style | NEMA Plug-in (e.g., 14-50) | Hardwired | Plug-in or Hardwired |
| Cable Length | 20 feet (6 meters) | 24 feet (7.3 meters) | 20 to 25 feet |
| Portability | High (stows in trunk) | Stationary (wall mounted) | Stationary / Semi-portable |
Mobile Connector vs Wall Connector: Picking the Best Level 2 Charger Tesla Setup
Choosing between the Gen 2 Mobile Connector and the Wall Connector depends on how quickly you need your battery replenished and whether you value portable backup charging.
The Gen 2 Mobile Connector caps out at 32 amps, which translates to a maximum power delivery of 7.6 kW when plugged into a 240V outlet using a NEMA 14-50 adapter. For the vast majority of drivers across Knox County and Blount County, 7.6 kW is plenty of power—it comfortably charges a Tesla Model 3 or Model Y from near-empty to 80% in roughly 7 to 9 hours. As detailed in the official GEN 2 MOBILE CONNECTOR guide, its 5.2-pound lightweight build makes it an exceptional tool to keep in your trunk for road trips or visits to destinations without dedicated EV chargers.
The Tesla Wall Connector, by contrast, is hardwired to a dedicated 60-amp circuit and can deliver up to 48 amps (11.5 kW). This provides up to 44 miles of range per hour of charging. If you operate multiple EVs, commute long distances daily across East Tennessee, or own a Model X or Cybertruck with a massive battery pack, the higher throughput of the Wall Connector makes it a superior long-term investment.
NEMA Outlet Adapters and CCS2 Compatibility
The Gen 2 Mobile Connector utilizes interchangeable adapter plugs. Tesla’s intelligent electronics detect which adapter is connected and automatically adjust the vehicle’s maximum current draw to prevent circuit overloading:
- NEMA 14-50: 240V / 32A continuous draw (7.6 kW) — the gold standard for Level 2 mobile charging.
- NEMA 14-30 / 10-30: 240V / 24A continuous draw (5.7 kW) — commonly found in modern or older electric clothes dryer circuits.
- NEMA 6-20: 240V / 16A continuous draw (3.8 kW) — ideal for lower-load 240V garage circuits.
- NEMA 5-15: 120V / 12A continuous draw (1.3 kW) — standard Level 1 trickle charging.
When traveling or utilizing non-Tesla charging infrastructure, hardware compatibility becomes paramount. Tesla vehicles can interface with universal public charging hardware using specialized adapters. For high-voltage international or commercial standards, the official Owner’s Manual for the CCS2 to NACS adapter outlines that such heavy-duty components support up to 1,000V DC and 500A. While Level 2 AC charging utilizes standard single-phase residential power, having a versatile charging toolkit guarantees you never face range anxiety.
Safe Home Installation Practices and Circuit Requirements
Charging an electric vehicle places a significant, sustained electrical load on your home’s electrical infrastructure. Unlike typical household appliances like a microwave or toaster that run for a few minutes, an EV charger draws heavy current continuously for hours.
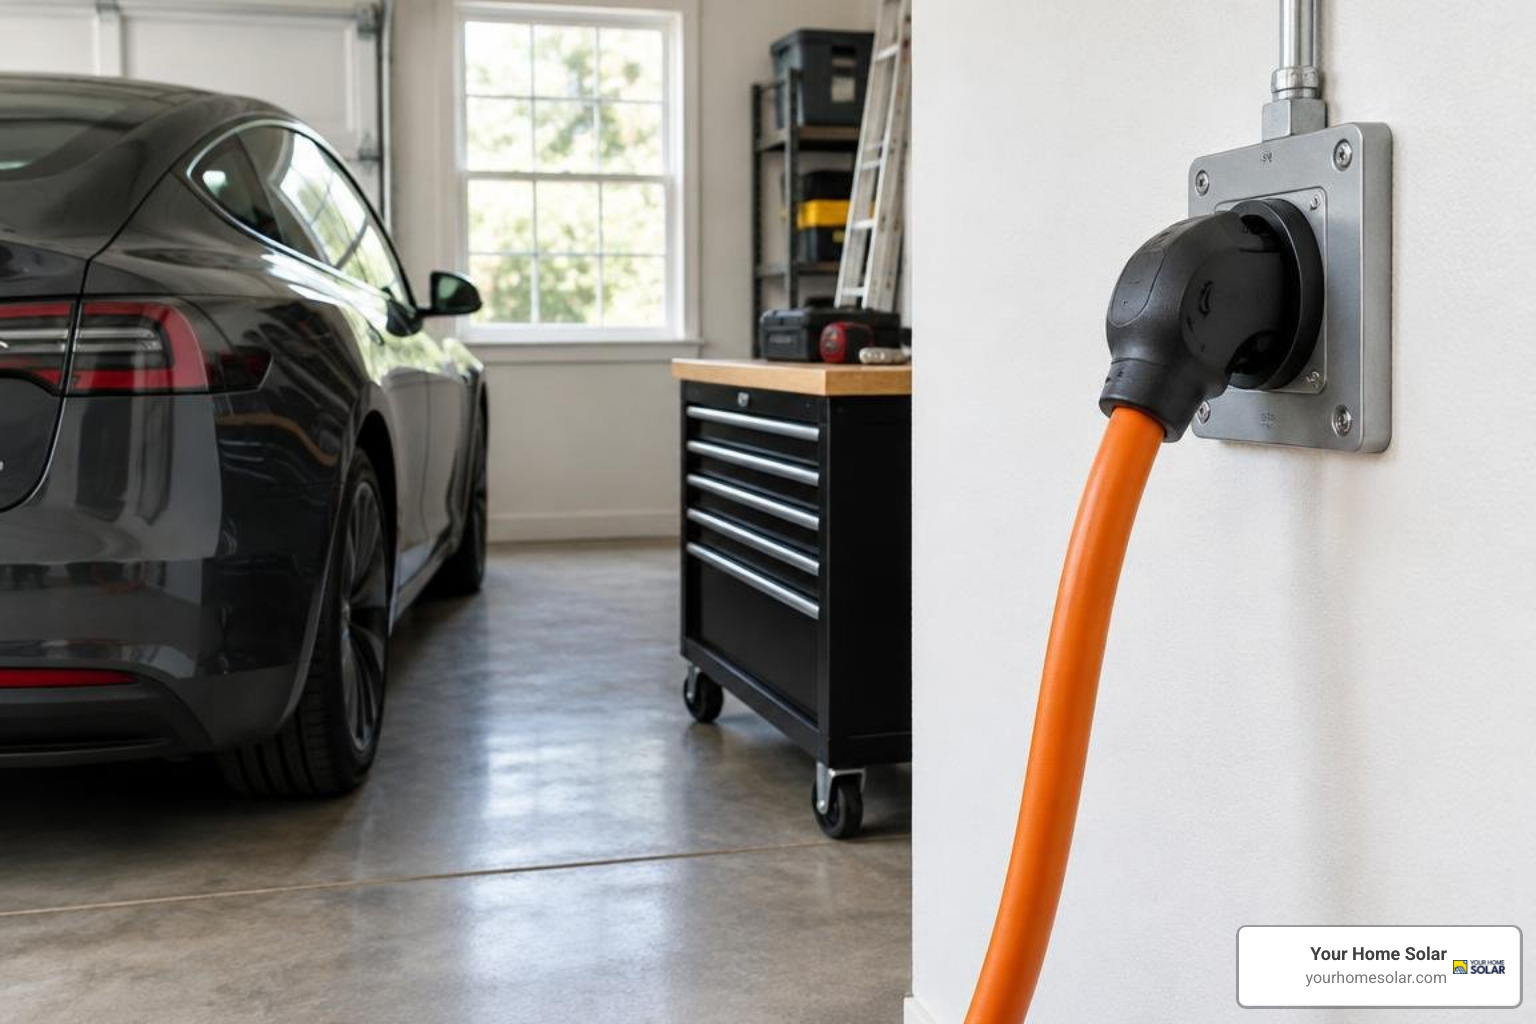
When planning for installing a Level 2 EV charger at home, safety codes and load calculations must guide the process from day one.
Electrical Requirements and Outlet Placement
The National Electrical Code (NEC) classifies EV chargers as continuous loads, meaning the branch circuit must be rated for 125% of the continuous draw:
- To draw 32 amps (Mobile Connector with NEMA 14-50), you must install a 40-amp or 50-amp breaker.
- To draw 48 amps (hardwired Wall Connector), you must install a 60-amp breaker.
Proper outlet location is equally critical. The Tesla Gen 2 Mobile Connector cable measures 20 feet (6 meters). Tesla recommends installing your 240V receptacle so that it sits within approximately 13 feet (4 meters) of the vehicle’s charge port to ensure the cable rests slack without mechanical tension. Furthermore, industrial-grade copper conductors (such as 6 AWG copper for a 50A circuit) should always be used rather than standard residential-grade Romex with aluminum conductors. Understanding precise EV charger wiring schematics prevents dangerous voltage drop and nuisance tripping.
Professional Installation vs DIY Considerations
While some experienced homeowners consider setting up their own 240V outlets, EV charging equipment demands professional installation by a licensed electrician. Factors such as panel busbar ratings, existing service capacity (100A vs 200A main service), grounding integrity, and torque specifications on breaker terminals directly influence household safety.
Evaluating overall 240V EV charger installation costs involves assessing whether your current electrical service requires a subpanel or a service panel upgrade. At Your Home Solar, we handle complete load calculations, electrical permitting, and professional installations across Knoxville, Sevierville, Maryville, and surrounding counties to ensure every charging system operates safely and complies with local building codes.
Step-by-Step Operation and Troubleshooting for Tesla Charging
Using a Level 2 charger is intuitive, but following the proper operating procedures preserves connector longevity and keeps internal protection circuits happy.
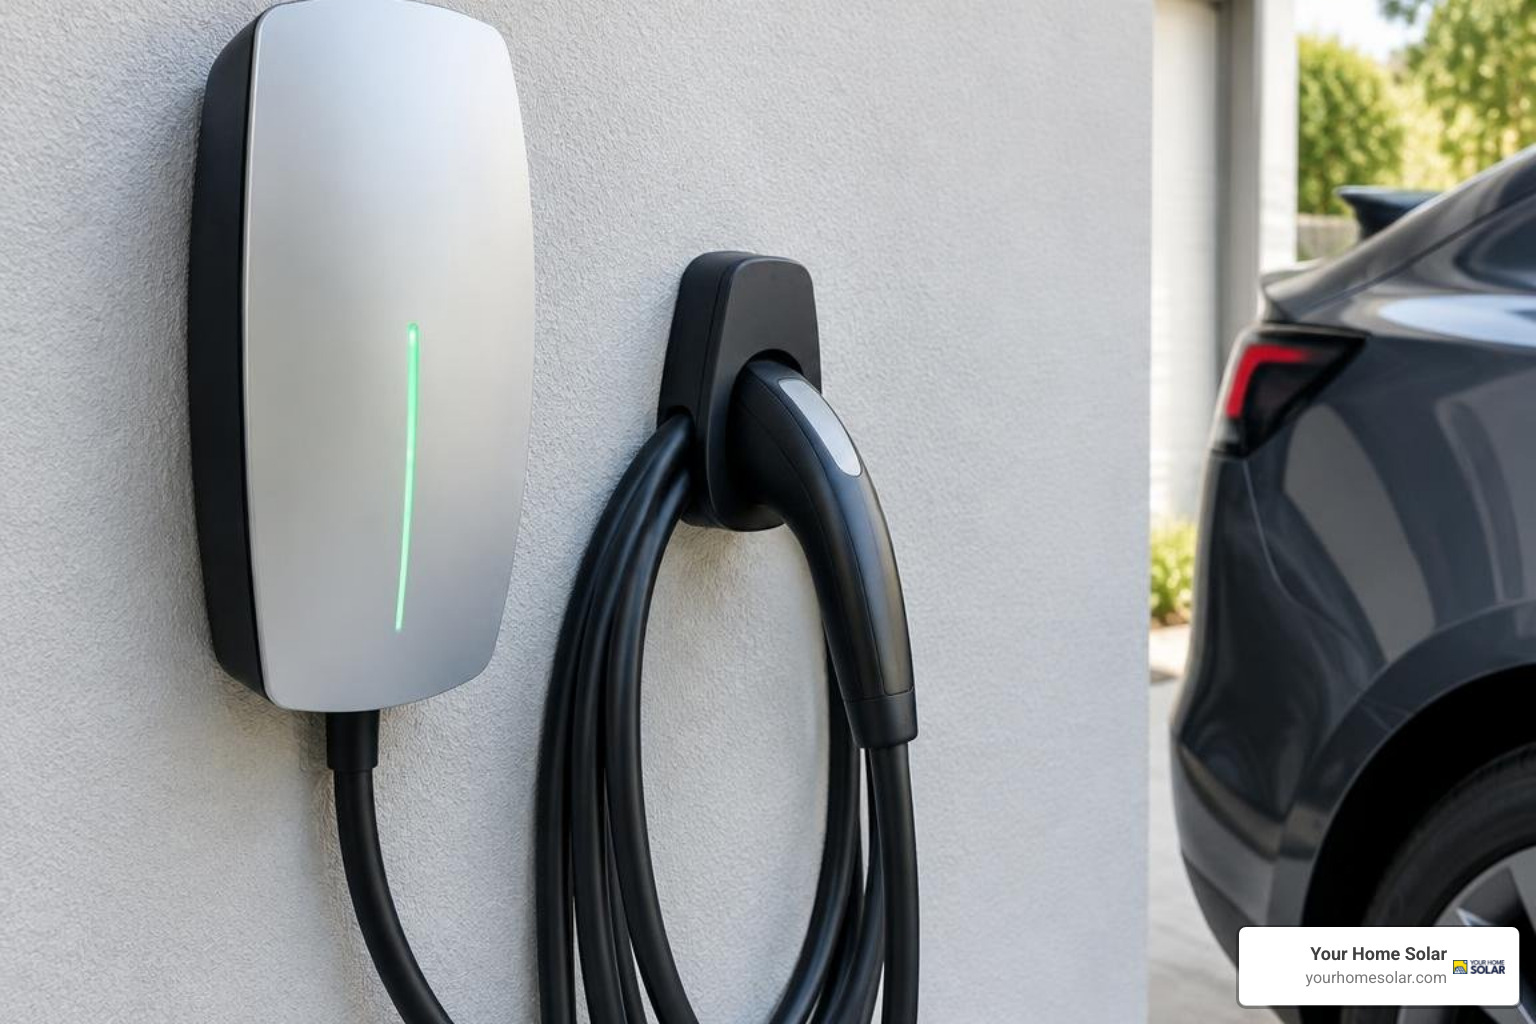
Proper Connection and Safety Procedures
Follow this simple sequence when connecting your Tesla Mobile Connector:
- Inspect Hardware: Check the connector handle, cable, and adapter pins for dirt, moisture, or damage before plugging in.
- Attach the Adapter: Fully seat your chosen NEMA adapter into the Mobile Connector controller housing before inserting it into the wall outlet.
- Plug into Power: Insert the NEMA plug straight and firmly into the 240V wall receptacle.
- Connect to Vehicle: Press the button on the connector handle to pop open your Tesla’s charge port door, then firmly push the connector into the port until the latch clicks.
- Verify Latched State: Confirm the Tesla charge port light shifts from white to blinking blue (communicating) to pulsing green (charging).
Safety Best Practices:
- In garage environments, mount the controller unit at least 18 inches (46 cm) above the finished floor to comply with local codes and avoid flammable vapors.
- Ensure the Mobile Connector operates strictly within its rated temperature range of -22°F to +122°F (-30°C to +50°C).
- The unit carries an IP55 weather-resistance rating, meaning it can tolerate light rain and splashing, but it should never be submerged in water or left buried under snow.
- Never use an extension cord, power strip, or multi-outlet adapter with any EV charging equipment.
Decoding Status Lights and Common Faults
The Tesla Mobile Connector features LED indicator lights on the front of the main control enclosure that communicate device health and fault codes:
- All LEDs Glowing / Streaming Green: Normal standby or active charging state.
- Flashing Green LEDs: The unit has detected high internal temperatures and has automatically throttled charging current down to protect internal circuits. Ensure the control box is out of direct sunlight and well-ventilated.
- One Red Flash: Ground fault detected. The unit detected electrical leakage to ground. Try unplugging and re-seating the connector, or check your outlet’s grounding conductor.
- Two Red Flashes: Ground loss detected. The supply outlet is not properly grounded. Have a licensed electrician inspect your ground wire connection.
- Three Red Flashes: Thermal protection triggered. High temperatures at the wall plug or controller caused the unit to stop charging entirely. Let the unit cool down before resetting.
- Four Red Flashes: Adapter fault. The adapter is not fully seated into the Mobile Connector body or has suffered pin damage.
- Five Red Flashes: Vehicle communication fault or internal software fault. Unplug the connector from both the vehicle and the wall, wait 30 seconds, and reconnect.
Key Factors Influencing Level 2 Tesla Charging Speeds
Not all Level 2 charging sessions yield the exact same rate of energy replenishment. Several environmental, electrical, and vehicle-specific variables dictate how quickly your battery fills up.
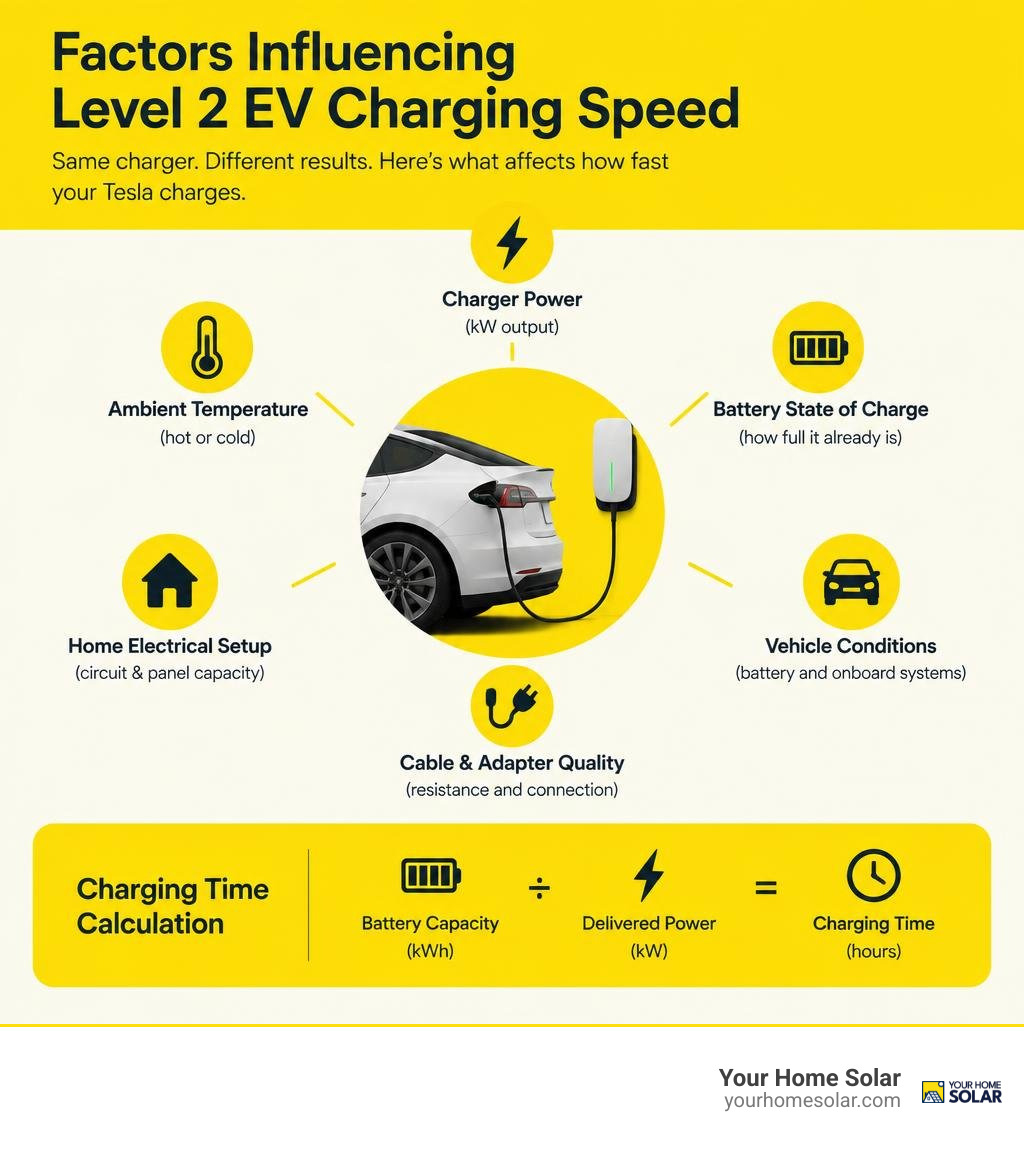
How to Calculate Charging Speed on a Level 2 Charger Tesla System
Estimating your Tesla’s charging time is straightforward using basic electrical math. Charging time is calculated by dividing your usable battery capacity in kilowatt-hours (kWh) by the net charging power in kilowatts (kW):
$$\text{Charging Time (Hours)} = \frac{\text{Battery Capacity (kWh)}}{\text{Delivered Power (kW)}}$$
For example, consider a Tesla Model Y Long Range equipped with an approximately 75 kWh battery pack, charging from a 10% state of charge up to 90% (adding 60 kWh of energy):
- Using a Gen 2 Mobile Connector (NEMA 14-50 @ 240V / 32A = 7.68 kW gross, ~7.0 kW net after conversion losses): $$\frac{60\text{ kWh}}{7.0\text{ kW}} \approx 8.5\text{ hours}$$
- Using a Hardwired Wall Connector (60A Circuit @ 240V / 48A = 11.52 kW gross, ~10.5 kW net): $$\frac{60\text{ kWh}}{10.5\text{ kW}} \approx 5.7\text{ hours}$$
Both setups comfortably replenish daily driving usage overnight, allowing you to wake up to a full charge every single morning.
Environmental and Battery Management Impacts
Beyond raw wattage, several other factors influence real-world charging speed:
- Ambient Temperature: Extreme cold slows down lithium-ion chemical reactions. If your battery is freezing during an East Tennessee winter cold snap, your Tesla will divert a portion of incoming Level 2 power to run the battery pack thermal heater before delivering power to the cells.
- Scheduled Preconditioning: Using the Tesla App to schedule your departure time warms the battery pack and cabin while still connected to grid power, preserving your vehicle’s range.
- State of Charge (SoC): While DC Superchargers experience an aggressive taper above 80%, Level 2 AC charging delivers a consistent, linear power supply almost all the way to 100%, because 7.6 kW to 11.5 kW is well within the battery’s normal acceptance rate.
- Future System Design: When setting up your garage electrical infrastructure, future-proofing your home charging ensures your system will support evolving high-voltage vehicle architectures for years to come.
Frequently Asked Questions About Tesla Level 2 Charging
Can I use a regular extension cord with a Level 2 Tesla charger?
No. Tesla explicitly states in all Mobile Connector operating manuals that you should never use an extension cord, surge protector, or multi-outlet splitter. Standard extension cords are not rated for continuous, multi-hour high-amperage duty. Using an extension cord introduces significant electrical resistance, causing substantial voltage drop, excessive heat buildup, and a severe risk of fire or melted receptacles.
How long does it take to fully charge a Tesla on Level 2 power?
On average, a Level 2 charger will replenish a typical Tesla battery from 10% to 80% in approximately 6 to 9 hours when using a 32-amp Mobile Connector (7.6 kW), or in 4 to 6 hours when using a 48-amp hardwired Wall Connector (11.5 kW). Daily commuting replenishment (recovering 30 to 40 miles) typically takes less than 2 hours.
What is the difference between a NEMA 14-50 outlet and a hardwired Wall Connector?
A NEMA 14-50 outlet is a 240V, 50-amp receptacle that accommodates the plug-in Mobile Connector, capping your charging rate at 32 amps (7.6 kW) due to continuous load safety margins. A hardwired Wall Connector is permanently connected to a 60-amp circuit with dedicated wiring, enabling maximum 48-amp (11.5 kW) charging speeds and advanced features like Wi-Fi diagnostics and power sharing across multiple vehicles.
Conclusion
Upgrading to a dedicated Level 2 home charging setup transforms your Tesla ownership experience, eliminating reliance on public charging stations and ensuring your vehicle is charged and ready every morning. Whether you opt for the versatile portability of the Gen 2 Mobile Connector or the maximum throughput of a hardwired Wall Connector, a safe, professionally installed 240V circuit is the key to reliable performance.
At Your Home Solar, we provide end-to-end residential energy solutions—from solar arrays and home battery backup systems to professional EV charger installations—for homeowners throughout Knoxville, Oak Ridge, Maryville, Johnson City, and across East Tennessee. Explore our complete guide to home EV charging to learn how our trusted energy experts can tailor a clean, cost-effective charging solution for your home.