Why Home Solar Installations Are Worth Considering Right Now
Home solar installations have become one of the smartest home improvements an East Tennessee homeowner can make — and the numbers back that up.
Here’s a quick summary of what you need to know:
| Topic | Key Facts |
|---|---|
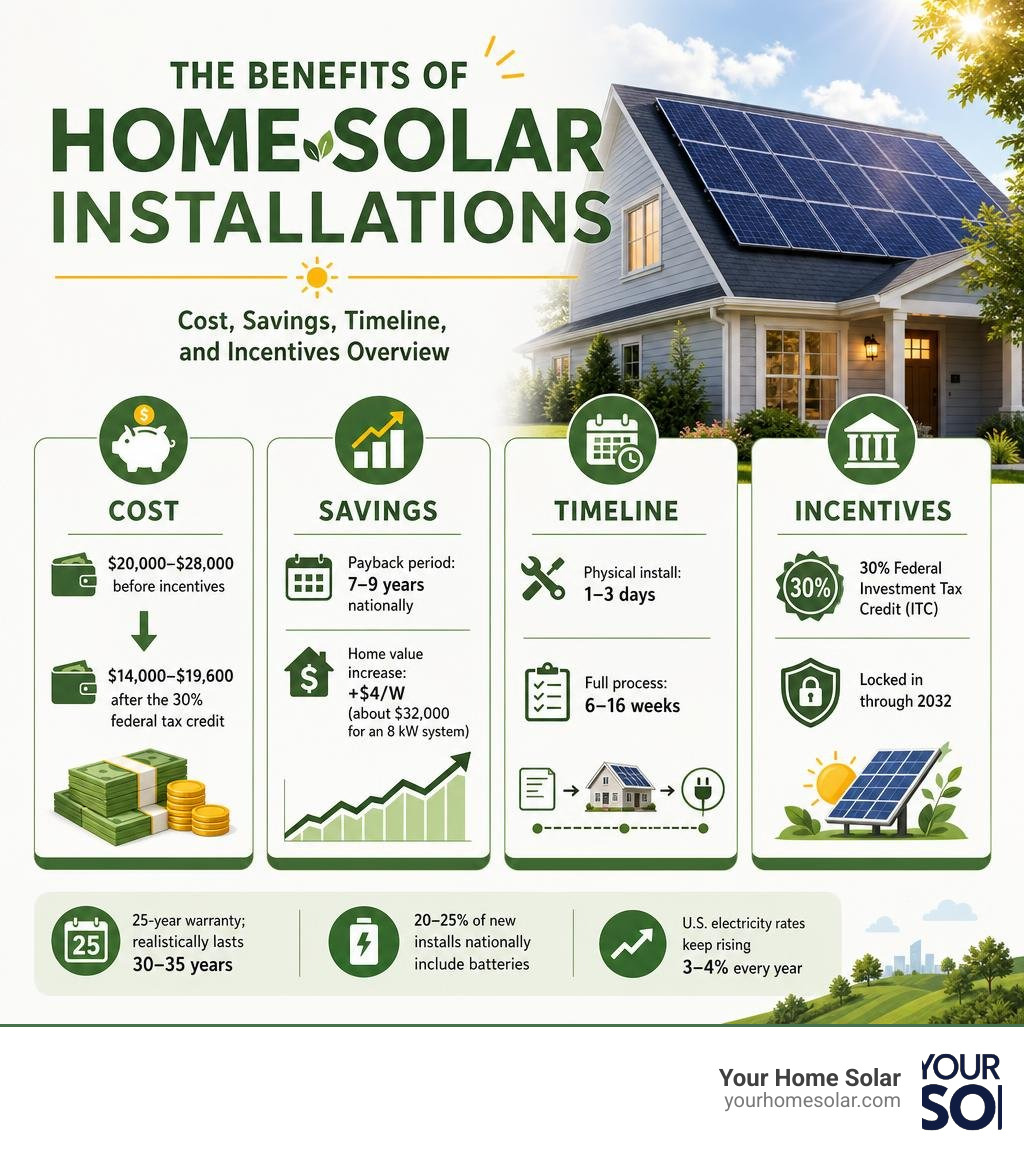
| Average system cost | $20,000–$28,000 before incentives; $14,000–$19,600 after the 30% federal tax credit |
| Payback period | 7–9 years nationally; 5–7 years in high-rate states |
| System lifespan | 25-year warranty; realistically lasts 30–35 years |
| Home value increase | Average +$4/W (about $32,000 for an 8 kW system) |
| Installation timeline | Physical install: 1–3 days; full process: 6–16 weeks |
| Battery storage | 20–25% of new installs nationally include batteries |
| Key incentive | 30% federal Investment Tax Credit (ITC), locked in through 2032 |
Panel costs have dropped over 90% since 2010. US electricity rates keep rising 3–4% every year. And over 4 million American homes are already powered by rooftop solar.
For East Tennessee homeowners dealing with rising utility bills, grid outages, and a growing desire for energy independence, the case for going solar has never been stronger.
This guide walks you through everything — from figuring out if your roof is ready, to choosing the right installer, to understanding exactly what you’ll pay and save.
I’m Ernie Bussell, Founder and CEO of Your Home Solar, the #1 solar energy contractor in East Tennessee — I’ve spent years leading operations and installations in the home solar installations industry, helping hundreds of local homeowners make confident, informed decisions about their energy. Whether you’re just starting to explore solar or ready to get quotes, this guide gives you the honest, straightforward information you need to move forward with confidence.
Evaluating Your Home’s Solar Potential
Before you buy a single panel, we need to look up. Way up. Your roof is the foundation of your entire solar energy system, and not every roof is a perfect match for solar power.
When we evaluate a home, we look at four key physical factors:
- Roof Orientation and Pitch: In East Tennessee, south-facing roofs capture 100% of potential solar energy. If your roof faces southwest or southeast, don’t worry—you only lose about 3% to 8% of total production. North-facing roofs, however, yield only 50% to 65% of south-facing ones, making them generally unsuitable.
- Shading Analysis: Trees, chimneys, and neighboring buildings can block sunlight. Shading just 10% of a solar panel’s surface can reduce its output by 30% to 50% because of how the cells are wired together. We map the sun’s path across all 12 months to ensure your panels get plenty of unshaded light.
- Structural Load Capacity: Solar panels and their mounting racks add about 2.5 to 4 pounds per square foot of dead load to your roof (roughly 12 to 15 kg/m²). While most modern homes built to code can easily handle this, older homes or roofs with pre-existing structural damage may need reinforcement.
- Roof Condition and Age: Solar panels last 30 to 35 years. If your shingles are more than 15 years old or showing signs of wear, it is highly recommended to replace your roof before installing solar. Removing and reinstalling panels later for a roof replacement can add thousands in labor costs. You can learn more about this in our guide to preparing your roof for solar panels.
Beyond the physical structure, you must consider local regulations and guidelines. Under the official Tennessee residential solar guidelines, homeowners have clear pathways to connect solar arrays to the local grid safely.
Furthermore, Homeowners Associations (HOAs) sometimes try to restrict solar panel placement. While Tennessee law protects a homeowner’s right to generate solar energy, HOAs can still enforce reasonable aesthetic rules (such as requiring low-profile panels or limiting installations to the back of the house).
The good news? A high-quality installation actually boosts your home’s appeal and resale value. Studies show that home value increases by an average of $4 per watt of installed solar. For a standard 8 kW system, that translates to a $32,000 bump in home equity, often completely offsetting the initial cost of the system when it comes time to sell.
Sizing Your System and Choosing Panel Types
Once we know your roof is ready, we calculate exactly how much power your home needs. To size your system, we gather 12 months of your utility bills to find your annual kilowatt-hour (kWh) usage.
The core sizing formula we use is:
$$\text{System Size (kW)} = \frac{\text{Annual Consumption (kWh)}}{\text{Local Yield Factor} \times 30 \times 0.80 \text{ (Efficiency Loss Factor)}}$$
In East Tennessee, our regional yield factor ranges from 1,300 to 1,500 kWh/kW per year. For a home consuming 10,500 kWh annually, an 8 kW to 8.5 kW system (consisting of roughly 19 to 21 panels) is usually the sweet spot.
When designing the system, we aim for a DC/AC ratio between 1.1 and 1.2. This means the DC wattage of your panel array is slightly higher than the AC output rating of your inverter. This standard practice allows for a tiny bit of “clipping” at peak noon but ensures your inverter operates at maximum efficiency during mornings, evenings, and cloudy days.
To understand how these components interact, read our guide on how solar panels work.
When choosing equipment, you will primarily choose between three options: monocrystalline, polycrystalline, and half-cut solar cells. In 2026, N-type TOPCon (Tunnel Oxide Passivated Contact) monocrystalline panels have become the mainstream standard, offering higher efficiency and better performance in low-light conditions.
| Panel Type | Efficiency Range | Average Lifespan | Best For |
|---|---|---|---|
| Monocrystalline (Standard) | 18% – 20% | 30+ Years | Limited roof space, maximum power output |
| Polycrystalline | 15% – 17% | 20 – 25 Years | Budget-conscious projects with ample ground space |
| Half-Cut TOPCon Cells | 21% – 23% | 35+ Years | High-performance needs, partially shaded roofs |
You can explore these specifications further in this comprehensive solar panel equipment guide.
The Step-by-Step Solar Installation Process
Many homeowners think the physical installation is the longest part of going solar. In reality, the actual hands-on construction takes just a few days. The administrative and engineering work behind the scenes takes up the majority of the timeline.
Here is how we take your project from a blank roof to a fully operational clean power plant:
- Site Assessment: We perform a detailed physical and digital analysis of your property. This includes checking your main service panel’s electrical capacity, measuring rafter spacing, and using digital modeling to assess shade.
- System Design & Engineering: Our engineers create a custom structural and electrical schematic. We use computer-aided design tools to model wind loads and ensure your array complies with standard fire code setbacks (such as leaving a 36-inch clear pathway along the roof ridges for emergency personnel).
- Permitting: We submit the design package to your local building department (such as Knoxville, Oak Ridge, or Kingsport) to secure the necessary building and electrical permits.
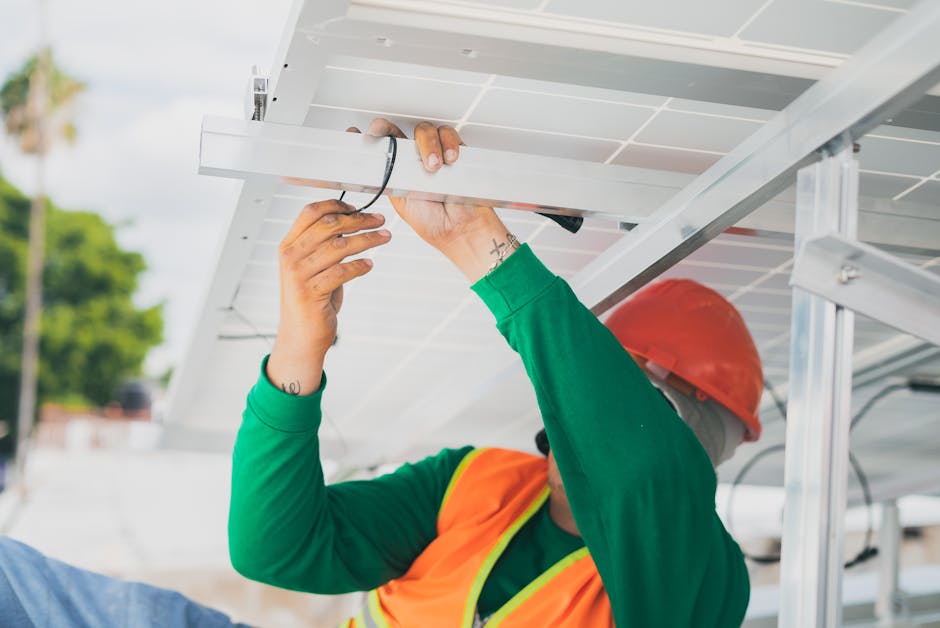
- Physical Installation: On installation day, our crew secures the mounting racks directly to your roof rafters using flashed and sealed penetrations to prevent leaks. The panels are then mounted to the racking.
- Electrical Wiring: We run heavy-duty, UV-resistant outdoor PV wire from the panels to the inverter. We ensure rapid shutdown devices are installed behind each panel to comply with NEC 690.12 safety codes.
- Utility Interconnection & Inspection: Once the physical work is complete, local municipal inspectors check the system. We then submit an interconnection request to your utility provider.
- Permission to Operate (PTO): Your utility company installs a new bi-directional net meter and issues the final PTO. Only then do we flip the switch to turn your system on!
To learn more about each phase of this process, check out our guide on the ultimate solar panel installation procedure and read about the solar installation process from industry leaders.
The Timeline for Home Solar Installations
While our crews can complete the physical installation of an 8 kW system in 1 to 3 days, the entire project timeline from contract signing to power-up typically takes 6 to 16 weeks.
- Engineering & Design: 1 to 2 weeks
- Permitting & Approvals: 2 to 6 weeks (depending on local municipal backlog)
- Physical Installation: 1 to 3 days
- Inspections & Net Meter Swap: 2 to 4 weeks
- Utility PTO Approval: 1 to 3 weeks
We manage every step of this timeline so you don’t have to deal with municipal paperwork or utility bureaucracy. For a detailed breakdown of what to expect on your property, read our article on what to expect during installation.
Understanding the Financials of Home Solar Installations
Let’s talk dollars and cents. Investing in home solar installations is fundamentally a financial decision. Nationally, the average gross cost of a residential solar system in Q4 2025 was $2.85 per watt. In East Tennessee, a typical 8 kW system ranges from $20,000 to $28,000 installed before incentives.
Once you apply the 30% federal tax credit, that price drops to $14,000 to $19,600.
With electricity rates rising, a typical solar energy system pays for itself in 7 to 9 years. Because the system is warranted to produce power for 25 years (and realistically lasts 30 to 35), you are looking at 15 to 18 years of essentially free electricity. Over its lifetime, a properly sized system can save you over $50,000.
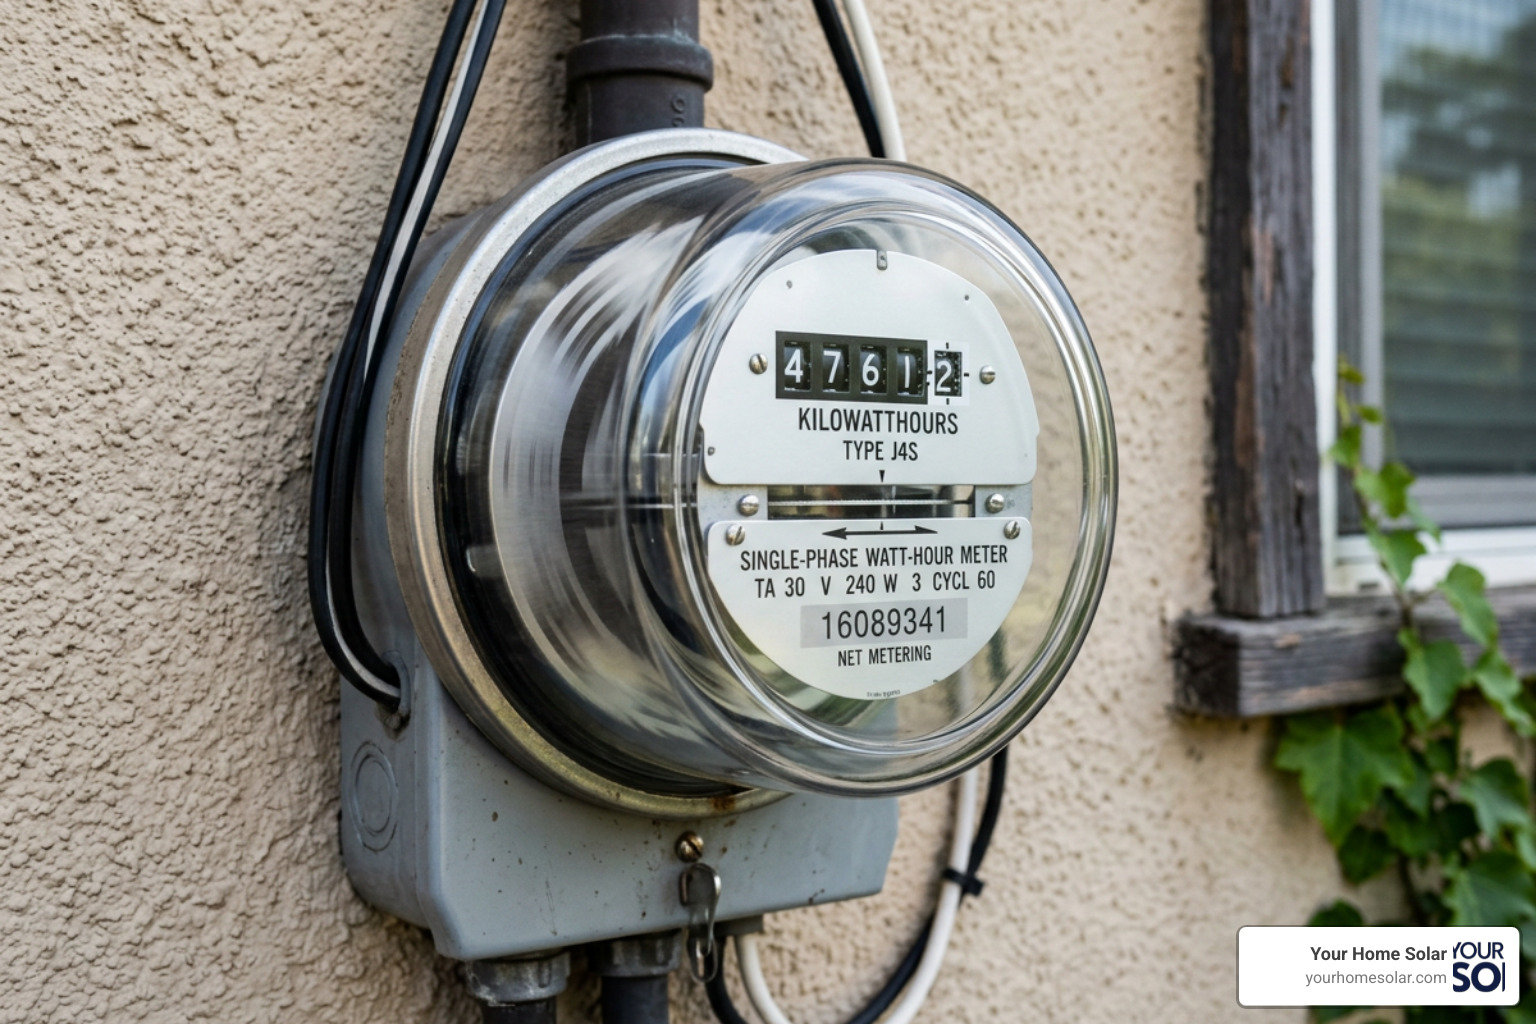
Utility structures play a major role in these financial calculations. For example, municipal utilities like the Los Angeles Department of Water and Power (LADWP) offer programs like Virtual Net Metering and Shared Solar for multifamily housing.
Here in East Tennessee, our grid operates under local power distributors supplied by the Tennessee Valley Authority (TVA). Utilities in our service areas offer direct interconnection programs that allow you to offset your monthly usage and maximize your return on investment.
To learn more about the financials of solar, see our residential solar guide and read our localized Farragut TN solar cost guide.
Solar Incentives, Tax Credits, and Net Metering
The single most powerful financial tool for solar buyers in 2026 is the Federal Residential Clean Energy Credit (formerly known as the Investment Tax Credit, or ITC). This program allows you to deduct 30% of your total solar installation cost—including panels, inverters, mounting equipment, and battery storage—directly from your federal tax liability. This 30% credit is locked in through 2032, making it an ideal time to make the switch.
Additionally, local utility policies help maximize your savings:
- Net Energy Metering (NEM): When your panels produce more electricity than your home is using, the excess is sent back to the local grid. Your utility company credits your account for this power, effectively spinning your meter backward.
- Battery Storage Incentives: As utilities transition to modern billing structures, adding battery storage allows you to store your excess daytime solar power and use it during peak-rate evening hours. This process, known as “peak shaving,” protects you from high utility rates.
For those living in the Tri-Cities area, you can learn about local utility connection terms through the BrightRidge residential solar options program.
Selecting the Right Solar Partner
Because solar panels last for decades, the company you choose to install them is just as important as the equipment itself. Unfortunately, the solar industry has attracted some national sales-heavy companies that use aggressive tactics, make unrealistic promises, and subcontract their labor to uncertified crews.
When shopping for a solar installer, look for these non-negotiable criteria:
- Local, In-House Crews: Avoid companies that sell you a system and then hire random third-party subcontractors to install it. In-house crews ensure consistent quality and clear accountability.
- Transparent, Line-Item Pricing: A reputable installer will provide a detailed quote breaking down equipment, labor, permitting, and electrical work. Avoid companies that only show you a single “all-inclusive” monthly payment.
- Verifiable Local References: Ask for at least three references from homeowners in your immediate area (such as Maryville, Morristown, or Oak Ridge) who have had their systems running for at least 18 months.
To learn more about evaluating companies, read our ultimate guide to residential solar.
Choosing Certified Professionals for Home Solar Installations
The gold standard for solar installation credentials is the NABCEP PVIP Certification (North American Board of Certified Energy Practitioners, Photovoltaic Installation Professional). This certification requires years of field experience, rigorous training, and passing a comprehensive engineering exam.
Never hire an installer who does not have at least one NABCEP PVIP-certified professional leading the crew on your roof.
Additionally, ensure your installer carries:
- A Valid State Contractor’s License: Specifically rated for solar or electrical work in Tennessee.
- General Liability Insurance: Minimum of $1 million to protect your property during construction.
- Workers’ Compensation: To protect the crew while they are working on your roof.
- A Strong Workmanship Warranty: A quality installer should offer at least a 10-year workmanship warranty covering roof penetrations and labor, completely separate from the manufacturer’s equipment warranties.
For a deeper dive into these requirements, read our practical guide to the solar installation process.
Frequently Asked Questions about Home Solar
We hear many of the same questions from East Tennessee homeowners. Here are the facts you need to know.
How do solar panels and battery storage work together for backup power?
Standard grid-tied solar systems automatically shut down during a power outage. This is a safety feature called “anti-islanding,” which prevents your system from sending electricity down the lines and endangering utility linemen working to restore power.
If you want your lights to stay on during an outage, you need to pair your solar panels with battery storage (a hybrid system).
During the day, your solar panels power your home and charge your battery. When the grid goes down, the system automatically disconnects from the utility grid and draws power from your battery bank to run your critical loads (like your refrigerator, well pump, lights, and medical equipment).
Modern lithium iron phosphate (LFP) batteries are incredibly safe, highly efficient, and can last for over 10 years of daily cycling. You can read more about self-reliance in this DIY solar panel installation guide.
What warranties are typically offered on solar panels?
When you invest in solar, you are protected by three separate warranties:
- Product Warranty (10 to 15 Years): Covers physical defects, manufacturing errors, or premature equipment wear.
- Performance Warranty (25 Years): Guarantees that the panels will not degrade faster than a specified rate. Most premium panels guarantee they will still produce at least 85% to 90% of their original rated power output at Year 25.
- Workmanship Warranty (10 to 25 Years): Provided by the installer to cover the labor, wiring, and roof penetrations.
What ongoing maintenance and monitoring is required after installation?
Solar panels have no moving parts, meaning they require very little maintenance.
We recommend checking your system’s production once a month using your monitoring app. If you notice a sudden drop in output, it could indicate a shaded panel or an electrical issue.
Physically, panels are designed to be self-cleaning. In East Tennessee, our regular rainfall is usually enough to wash away dust and pollen. However, during dry spells or heavy pollen seasons, a gentle spray with a garden hose from the ground is all it takes to keep them running at peak efficiency. Never use abrasive chemicals or pressure washers on your panels.
Conclusion
Going solar is one of the most rewarding decisions you can make for your home, your wallet, and our local environment. By generating your own clean power right on your roof, you protect your family from rising utility rates and grid instability.
At Your Home Solar, we are proud to be East Tennessee’s trusted local solar experts. We serve communities across Knoxville, Oak Ridge, Maryville, Johnson City, Kingsport, Morristown, Sevierville, Farragut, and the surrounding counties. Our mission is simple: to deliver tailored, reliable, and high-performing home energy solutions backed by trusted expertise and a commitment to 100% customer satisfaction.
If you are ready to take control of your energy future, here are your next steps:
- Gather Your Bills: Pull your last 12 months of utility statements.
- Assess Your Roof: Take a quick look at your roof’s age and shading.
- Get a Custom Design: Let our engineering team create a custom 3D model of your home’s solar potential.
Contact us today to schedule a residential solar consultation and let us help you turn your roof into a personal power plant!