
What You Need to Know About PV Panel Installation
PV panel installation is one of the most impactful home upgrades you can make — cutting your monthly energy bills, protecting against outages, and locking in clean power for 25 years or more.
Here is a quick overview of how the process works:
- Site assessment — Evaluate your roof, shading, orientation, and energy usage
- System design — Size the system, choose equipment, and plan string layouts
- Permits and utility approval — Submit building and electrical permits and interconnection paperwork
- Equipment delivery — Panels, inverter, racking, and wiring arrive on site
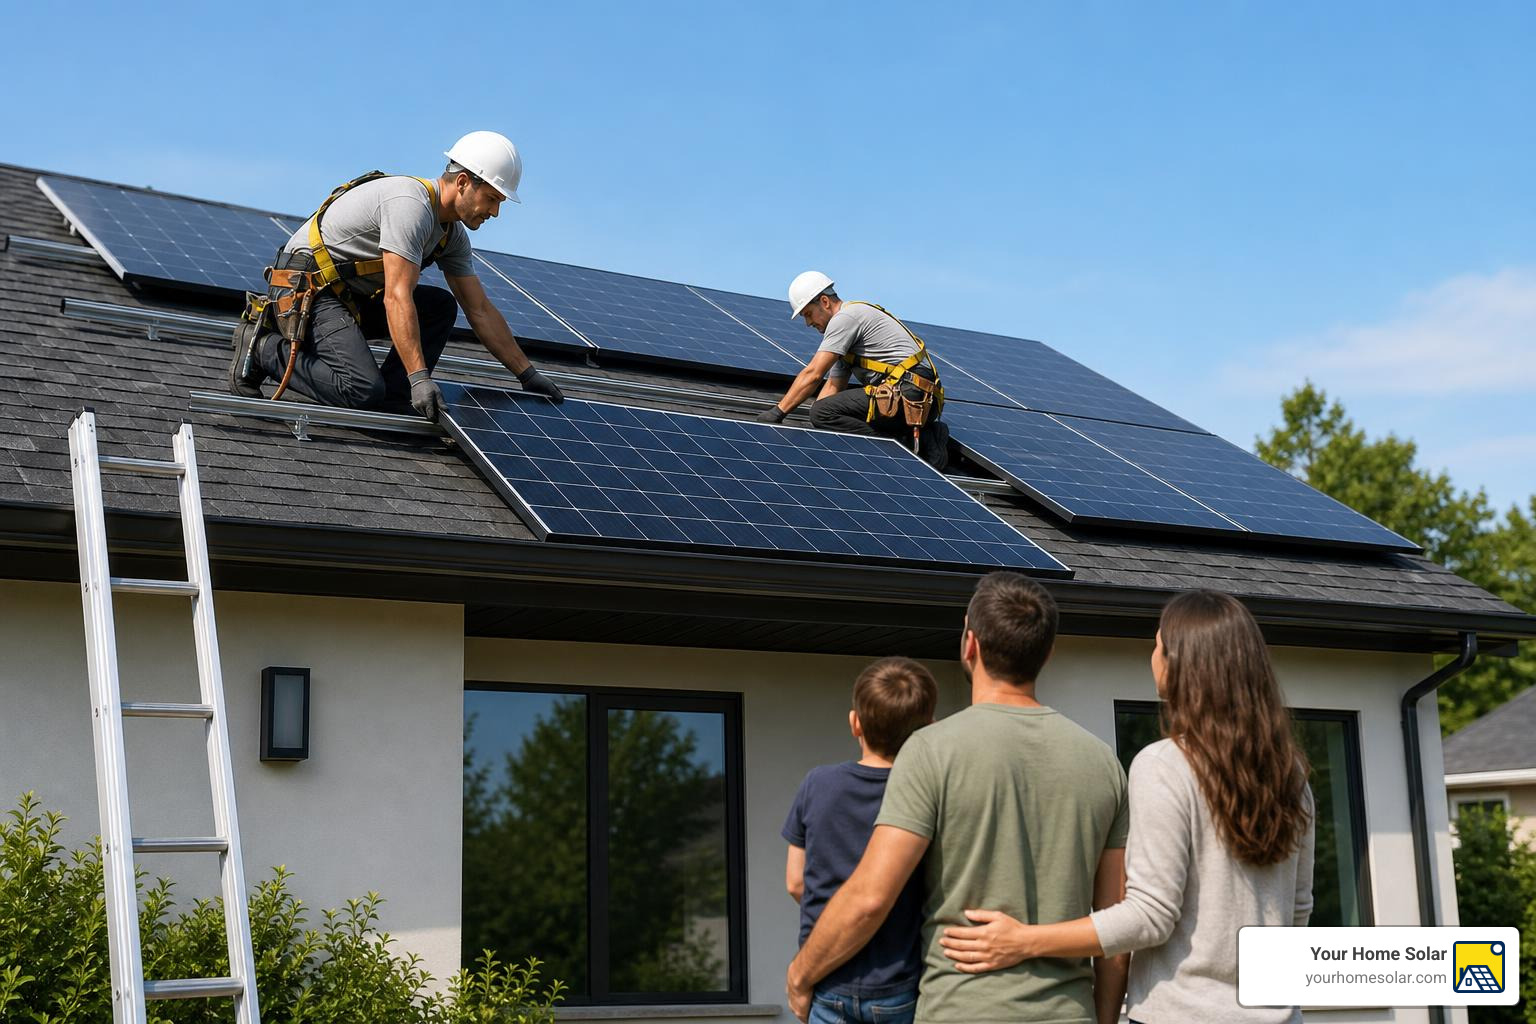
- Physical installation — Mounting, wiring, grounding, and connection to your electrical system (typically 1–3 days)
- Inspection — Local inspector and utility verify the system meets code
- Permission to operate (PTO) — Utility grants approval to turn the system on
- Activation and monitoring — System goes live and you begin tracking production
The physical installation only takes a day or two. But the full process — from first consultation to the moment your system powers your home — typically runs 2 to 3 months, mostly due to permitting and utility timelines.
Done correctly, a well-installed solar system can deliver savings of around $60,000 over 25 years and withstand decades of weather with minimal maintenance. Done poorly, it can mean yield losses, safety hazards, voided warranties, or even utility disconnection.
This guide walks through every step — from site planning and safety to wiring, mounting, commissioning, and long-term maintenance — so you know exactly what a quality installation looks like.
I’m Ernie Bussell, founder and CEO of Your Home Solar, and I’ve spent years overseeing PV panel installation operations — including building the scheduling and dispatch systems for a $40 million per year solar operation before launching East Tennessee’s most trusted solar company. Everything in this guide reflects real-world installation experience, not just theory.

Pre-Installation Planning: Site, Design, Costs, and Permits
A successful solar project starts long before anyone climbs a ladder. The planning stage determines system size, safety, cost, production, permitting, and long-term reliability.
Before installation, we look at:
- Your last 12 months of electricity usage
- Roof age and roof condition
- Available roof or ground space
- Shading from trees, chimneys, dormers, and nearby structures
- HOA requirements, where applicable
- Utility interconnection rules
- Whether you want grid-tied solar, battery backup, off-grid capability, or EV charging support
- Main electrical panel capacity
- Space for an inverter, batteries, disconnects, and service access
In East Tennessee, roof condition matters. Solar panels can last 25 years or longer, so installing on a roof near the end of its life can create avoidable removal and reinstallation costs later. If your roof is aging, it is often smarter to coordinate roofing and solar together.
Cost planning is just as important. Nationally, residential solar commonly falls around $2.36 to $3.24 per watt, with an average system cost around $30,505 before incentives. Your final price depends on system size, roof complexity, equipment, battery storage, permitting, trenching for ground mounts, and electrical upgrades.
For a simple introduction to how solar systems work, see our guide on solar installation basics.
How to Choose the Best Location and Orientation

The best solar location is the one that gives your panels the most sunlight with the least shading and the safest installation conditions.
For East Tennessee homes, we usually prioritize:
- South-facing roof planes for strongest year-round production
- Minimal shade, especially between 9 a.m. and 3 p.m.
- Good roof structure that can support the added dead load
- Proper drainage so water does not pool around mounts
- Ventilation under the panels to reduce heat buildup
- Safe access paths for installation, inspection, and maintenance
In the Northern Hemisphere, true south is ideal. A roof that faces slightly southeast or southwest can still perform well, but production drops as the array turns farther away from true south. Some manufacturer guidance notes that panels facing about 30 degrees away from ideal orientation may lose roughly 10% to 15% of potential output, while larger deviations can lose more.
Tilt also matters. A minimum tilt of about 10 degrees helps panels shed dust and rainwater. On steeper roofs, the roof pitch often determines the panel angle. On flat roofs or ground mounts, racking can set the tilt.
Structural load must be checked, too. A typical crystalline solar array can add roughly 12 to 18 kg per square meter of dead load, before accounting for wind uplift, snow, and local code requirements. In plain English: the roof needs to be ready for decades of panels, racking, rain, wind, and the occasional Tennessee storm that arrives with dramatic flair.
PV Panel Installation Permits, Utility Approval, and Fire Guidelines
Permits are not just paperwork. They protect your home, your warranty, utility workers, and first responders.
A typical East Tennessee solar project may require:
- Building permit
- Electrical permit
- Utility interconnection application
- Net meter or meter programming approval
- Local inspection
- Utility approval
- Permission to operate, often called PTO
Never turn on a grid-tied solar system before PTO. Even if the installation is physically complete, energizing early can violate utility rules and create safety hazards.
Fire and electrical guidelines are also part of the design. Depending on the jurisdiction and system type, requirements may include:
- Roof access pathways for firefighters
- Setbacks from ridges, valleys, and roof edges
- Rapid shutdown equipment
- Clearly labeled disconnects
- Proper conduit routing
- Code-compliant roof penetrations
- Arc-fault and ground-fault protection
Rapid shutdown is especially important on rooftop systems because it helps reduce energized conductors during emergency response. Installers must follow the National Electrical Code, local amendments, manufacturer instructions, and utility requirements.
For a homeowner-friendly timeline, read what to expect during installation.
Step-by-Step PV Panel Installation: Safety, Mounting, and Module Placement
Once design and approvals are ready, physical installation begins. This is where experience matters most.
A professional crew typically:
- Confirms the approved plan and roof layout
- Sets up fall protection and site safety controls
- Locates rafters or structural attachment points
- Installs flashed mounts or support hardware
- Attaches rails or racking
- Places and secures modules
- Routes wiring and conduit
- Installs inverter, disconnects, and rapid shutdown devices
- Completes grounding and bonding
- Prepares the system for inspection and commissioning
PV modules generate DC electricity whenever exposed to sunlight. That means electrical safety starts before wiring is complete. Manufacturer instructions, such as this manufacturer PV module safety guidance, consistently emphasize qualified personnel, dry connectors, insulated tools, correct handling, and proper mounting.
PV Panel Installation Safety Checklist Before Work Begins
Before installation starts, we verify that the jobsite is safe and the system is ready.
Required safety checks include:
- Hard hats
- Rubber-soled safety shoes
- Insulated gloves
- Safety glasses
- Fall protection harnesses
- Guardrails or roof anchors where required
- Ladder stabilization
- Lockout-tagout procedures
- Insulated tools
- Fire extinguisher on site
- Emergency plan and communication
- Dry weather conditions
- No installation during rain, snow, lightning, or high wind
- No cracked, bent, or visibly damaged panels
- No wet or contaminated connectors
- Opaque covering for modules when needed to reduce power generation
- Clear work area around the electrical panel and inverter location
Solar work combines roof risk, electrical risk, and weather risk. That is why full-home systems are not a casual weekend project. If you drop a wrench, that is annoying. If you drop a solar panel from a roof, that is a very expensive frisbee.
Mechanical Mounting Methods for Roofs and Ground Arrays
Solar panels can be mounted several ways. The right method depends on the roof type, structural design, site conditions, and local code.
| Mounting method | Best for | How it is secured | Key considerations |
|---|---|---|---|
| Pitched roof rail system | Asphalt shingles, metal roofs, many residential roofs | Flashed roof attachments, lag bolts into rafters, rails, mid-clamps, end-clamps | Requires waterproof penetrations, rafter layout, correct torque |
| Ballasted roof system | Some flat or low-slope roofs | Weighted blocks hold racking in place without roof penetrations | Must account for wind uplift, roof load, drainage, membrane protection |
| Ground mount | Homes with open land or limited roof space | Posts, driven piles, or concrete footings with rails | Requires trenching, conduit, access control, mowing clearance, soil conditions |
| Tilt-up or specialty racking | Flat roofs, commercial-style layouts, custom sites | Engineered supports and ballast or attachments | Needs wind engineering and fire access planning |
For roof mounts, flashed penetrations are critical. Water intrusion is one of the biggest risks of poor installation. Attachments must land in structural members, not just roof decking, unless the engineered system specifically allows it.
For ground mounts, concrete footings or driven posts must be sized for soil, wind, and array height. Access should be controlled because PV systems include both DC and AC voltages.
How to Secure Panels Without Damaging Modules

Panels must be tight enough to resist wind and snow loads, but not so tight that the frame is crushed or stressed.
Best practices include:
- Use manufacturer-approved clamp zones
- Use mid-clamps between modules and end-clamps at row edges
- Use the correct clamp grip length and depth
- Use a calibrated torque wrench
- Record torque values when required
- Leave gaps between modules for thermal expansion
- Maintain airflow behind modules
- Keep drainage holes open
- Never drill extra holes in panel frames
- Never mount through drainage holes
- Never lift panels by junction boxes or cables
Many module manufacturers specify clamp torque ranges around 12 to 25 N-m, while some M8 bolt applications specify about 16 to 20 N-m. Always follow the module and racking manufacturer instructions for the exact equipment being installed.
Clearance matters, too. Some manufacturer manuals specify at least 20 mm between the module underside and mounting surface, while many professional designs aim for more ventilation, often around 50 mm where the racking allows. A gap of about 2 cm between modules is commonly used to allow expansion and water movement.
Electrical Wiring, Grounding, Connectors, and Cable Management
The electrical side of solar is where small mistakes can become major failures. Wrong polarity, loose connectors, undersized wire, poor grounding, or mixed connector types can cause nuisance faults, heat damage, arc faults, or lost production.
A solar PV system may include:
- DC strings
- Module-level power electronics
- Rapid shutdown devices
- Combiner boxes on some systems
- DC disconnects
- Inverter or microinverters
- AC disconnect
- Overcurrent protection
- Grounding and bonding conductors
- Monitoring equipment
For manufacturer-level technical guidance, see this PV module wiring guidance.
Solar Panel Wiring Best Practices
Most residential systems wire modules in series strings, parallel circuits, or use microinverters/optimizers depending on the design.
Important wiring practices include:
- Confirm string length stays within inverter voltage limits
- Correct for cold-weather open-circuit voltage
- Verify current limits for parallel circuits
- Keep voltage drop low, often targeting under 1% to 2% where practical
- Use properly rated PV wire
- Use minimum wire sizes required by code and manufacturer instructions
- Protect conductors in conduit where exposed
- Separate AC and DC conductors where required or recommended
- Use correctly sized fuses and breakers
- Check polarity with a multimeter before connecting to the inverter
- Label all circuits clearly
Many module manuals call for copper conductors rated for high outdoor temperatures, often 90°C, and minimum string wire sizes such as 4 mm² copper. Longer string runs may require larger conductors, such as 6 mm², depending on design current, voltage drop, and code calculations.
The inverter must also match the array. String voltage must stay within the MPPT operating window, and maximum open-circuit voltage must never exceed equipment ratings.
Grounding and Bonding Requirements
Grounding and bonding help reduce shock risk, support fault detection, and protect metal parts from becoming energized.
A complete grounding plan may include:
- Bonded module frames
- Bonded rails
- Listed bonding mid-clamps or jumpers
- Grounding lugs
- Equipment grounding conductor
- Inverter grounding
- Bonded metal raceways
- Grounding electrode system connection where required
- Continuity testing
Use corrosion-resistant hardware compatible with the metals in the system. Stainless fasteners and aluminum rails are common, but dissimilar metals must be managed to reduce corrosion. Grounding points should be clean, tight, and installed exactly as approved by the manufacturer.
Lightning is also worth considering in East Tennessee. Solar panels do not “attract” lightning in the cartoon-magnet sense, but rooftop metal equipment can be exposed to surges. Good bonding, proper equipment grounding, and surge protection where appropriate help reduce risk.
Connectors and Cable Management That Prevent Failures
Connectors are small parts with big responsibility. A loose or incompatible connector can overheat and cause an arc fault.
Best practices include:
- Use compatible connector types from the same manufacturer or approved pairing
- Do not mix random MC4-style connector brands
- Keep connectors dry before assembly
- Push connectors together until fully seated, often with an audible click
- Use proper unlocking tools
- Provide strain relief
- Use drip loops where needed
- Keep cables off the roof surface
- Use UV-rated cable clips and ties
- Avoid sharp bends and abrasion points
- Secure module leads to prevent contact with the backsheet
- Protect exposed runs in conduit
Cable management should look boring. Boring is good. Boring means no dangling wires, no mystery loops, no cables rubbing on shingles, and no future service tech muttering under their breath.
Inspection, Commissioning, Maintenance, and Special Installations
Installation is not complete when the last panel is clamped. The system still needs inspection, testing, utility approval, activation, and homeowner training.
For a broader view of the full project flow, see our solar installation process guide.
Commissioning and Permission to Operate
Commissioning verifies that the system was built correctly and safely.
A good commissioning process includes:
- Visual inspection of modules, racking, wiring, labels, and roof penetrations
- Verification of module serial numbers
- Confirmation that drainage holes are not blocked
- Torque checks or torque log review
- Grounding and bonding continuity test
- Polarity check for each string
- Open-circuit voltage check
- Short-circuit current check where appropriate
- Insulation resistance testing where required
- Inverter setup
- Rapid shutdown testing
- Monitoring portal setup
- Utility meter verification
- Final inspection approval
- Permission to operate
- Activation sequence
A proper solar handover package should include:
- Approved plans
- As-built drawings if layout changed
- Equipment datasheets
- Module and inverter serial numbers
- Racking documentation
- Warranty documents
- Electrical test results
- Torque log if required
- Permit and inspection records
- Utility interconnection approval
- Monitoring login instructions
- Emergency shutdown instructions
- Maintenance recommendations
Only after PTO should the system be energized for normal operation.
Maintenance, Cleaning, and System Inspection After Installation
Solar maintenance is usually simple, but “simple” does not mean “ignore forever.”
After activation, homeowners should:
- Monitor production through the app or portal
- Watch for inverter alerts
- Compare seasonal production trends
- Keep trees trimmed away from the array
- Check for leaves, pollen, bird debris, or heavy dirt buildup
- Schedule annual visual inspection
- Inspect after major storms or hail
- Look for cracked glass, loose clamps, or damaged conduit
- Have connectors and wiring checked if production drops unexpectedly
For cleaning, use clean water and a soft brush or approved solar cleaning tool. Avoid abrasive pads, harsh chemicals, pressure washing close to the modules, or walking on panels. In many East Tennessee locations, rain handles much of the cleaning, but pollen season can leave panels looking like they sneezed.
If production drops sharply, do not assume the panels are “bad.” Common causes include tripped breakers, inverter faults, shading changes, dirty modules, loose connectors, or communication issues.
Special Installation Considerations
Some systems need extra planning.
Water platforms and floating arrays need corrosion-resistant materials, safe access, humidity protection, and specialized anchoring. Electrical equipment must be suitable for wet environments, and cable routing must account for movement.
Module-level power electronics, including optimizers and microinverters, add benefits such as panel-level monitoring, rapid shutdown support, and improved performance in shade. They also require correct spacing, ventilation, attachment, grounding, and service access.
Bifacial modules can produce energy from reflected light on the rear side, but they need more clearance to perform well. Some manufacturer guidance recommends higher mounting heights for bifacial designs, especially on ground or elevated structures.
High-wind and storm-prone locations require careful attention to edge zones, attachment spacing, clamp zones, uplift ratings, and roof condition. Panels are commonly tested to loads such as 5400 Pa downward and 2400 Pa upward, but the installed system is only as strong as the mounting design.
Drainage and snow shedding also matter. Drainage holes in module frames must stay open. Panels should not be installed in a way that traps water, debris, or snow against the frame. For technical reference, manufacturer manuals such as this PV module mechanical and electrical installation reference.pdf) provide detailed mounting and site requirements.
Frequently Asked Questions About PV Panel Installation
How long does a residential solar PV installation take?
The physical installation usually takes 1 to 3 days for a typical residential system. The full process usually takes 2 to 3 months from consultation to operation.
That timeline includes:
- Site assessment
- System design
- Permit applications
- Utility interconnection paperwork
- Equipment ordering
- Installation
- Local inspection
- Utility review
- Permission to operate
- Activation and monitoring setup
Permitting and utility approval are usually the longest parts. We help homeowners understand the timeline early so there are no surprises.
Can I install solar panels myself?
Small off-grid systems for sheds, cabins, RVs, or workshops can sometimes be DIY-friendly for experienced people. A full home grid-tied solar system is different.
DIY solar carries risks, including:
- Falls from the roof
- Electrical shock from DC voltage
- Incorrect string sizing
- Fire hazards from bad connectors
- Failed inspections
- Utility rejection
- Voided equipment or roof warranties
- Insurance complications
- Code violations
Most residential systems should be installed by qualified solar professionals and licensed electricians where required. If you are comparing options, start with our guide to expert solar installers in Knoxville TN.
What are the most common installation mistakes?
The most common mistakes we see or design against include:
- Poor shading analysis
- Panels facing the wrong direction
- Ignoring winter shade
- Installing on a worn-out roof
- Undersized wire
- Excessive voltage drop
- Incorrect string voltage
- Mixed or loose connectors
- No audible connector click
- Missed grounding or bonding points
- Incorrect clamp torque
- Drilling module frames
- Blocking drainage holes
- Poor roof flashing
- Dangling cables
- Missing rapid shutdown equipment
- Incomplete labeling
- Turning the system on before PTO
Most of these mistakes are preventable with proper design, trained installers, and a disciplined commissioning checklist.
Conclusion
A quality PV panel installation is part engineering, part craftsmanship, and part patience with paperwork. The panels may be the most visible part, but the real value comes from everything behind them: smart design, safe mounting, clean wiring, proper grounding, utility approval, and long-term support.
At Your Home Solar, we provide tailored home energy solutions across East Tennessee, including solar, backup generators, and EV chargers. Our goal is simple: reliable installations, trusted expertise, and 100% customer satisfaction.
Whether you are in Knoxville, Oak Ridge, Maryville, Johnson City, Kingsport, Morristown, Sevierville, Farragut, Powell, or anywhere across our East Tennessee service area, we can help you plan a solar system built for your home, your utility, and your long-term energy goals.
Ready to take the next step? Start with a trusted local solar installer.